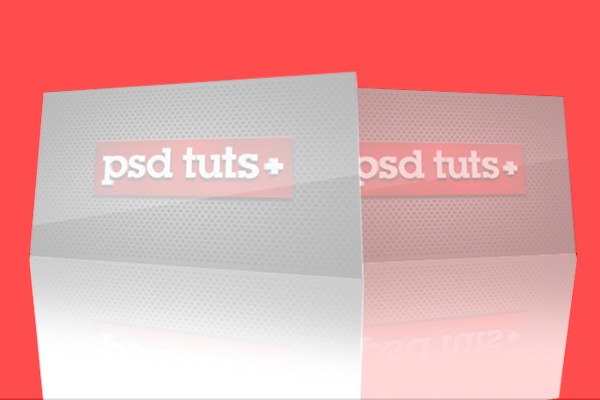
Final Product What You'll Be Creating
Step 1
First, create a new document (Cmd/Ctrl + N) and make it 600 pixels by 400 pixels. You could of course set the resolution up to 300 pixels per inch for any printed document, but we’ll keep it down to 72 for this tutorial.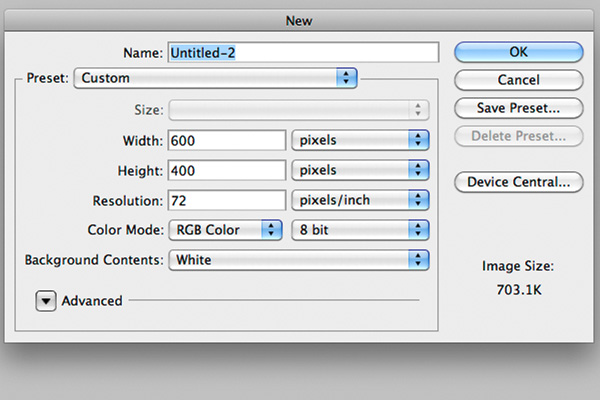
Step 2
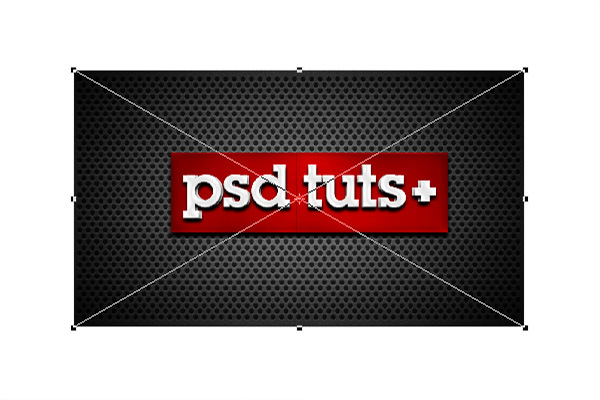
Then, we need to place the major part of this tutorial onto the scene, our business card. Choose File > Place and select your image.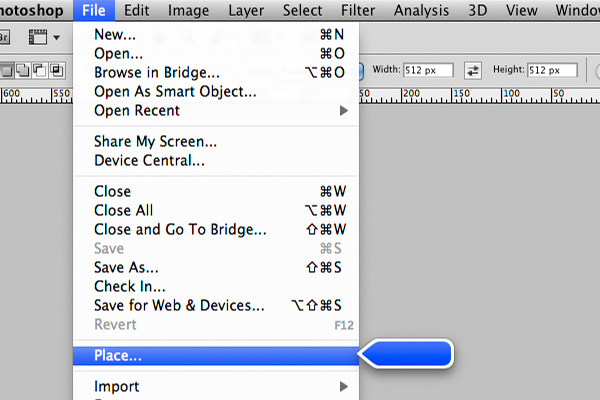
Step 3
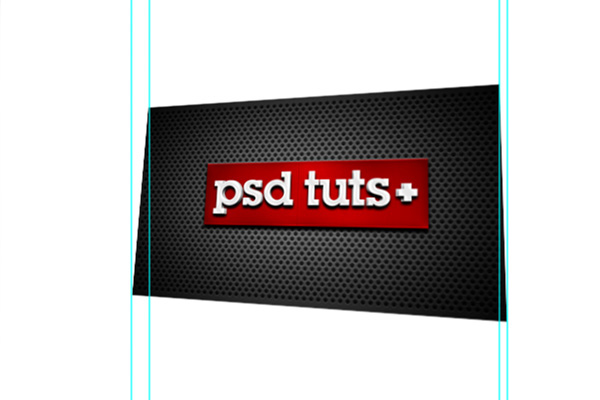
Now, in order to distort it in a certain perspective, you need to convert it to a 3D layer using the New 3D Postcard From Layer command. Select your layer and select 3D > New 3D Postcard From Layer. Once it’s done, take the 3D Rotate Tool in your tool palette and start playing around by simply dragging your card in any direction. A similar result can be achieved in earlier versions of Photoshop using the Distort tool or the Perspective tool, but the 3D Rotate Tool makes sure everything looks right.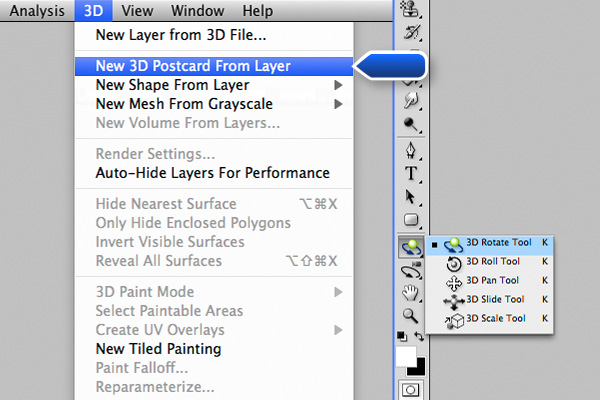
Step 4
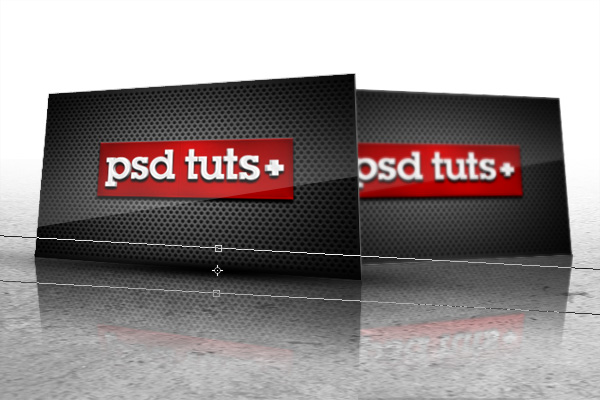
Use the Ruler Tool to create a straight line that joins the two corners on the left. This is going to help create a reflection that has the same height as your 3D layer.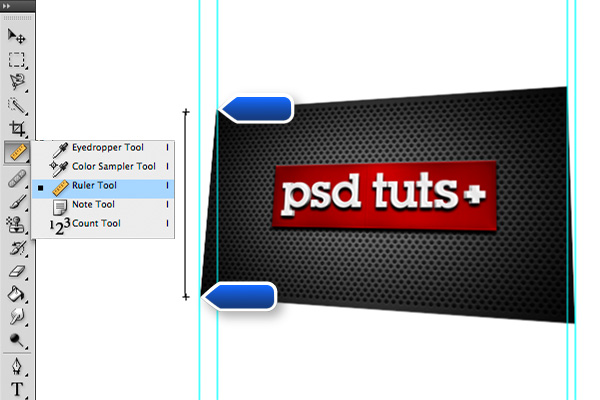

Step 5
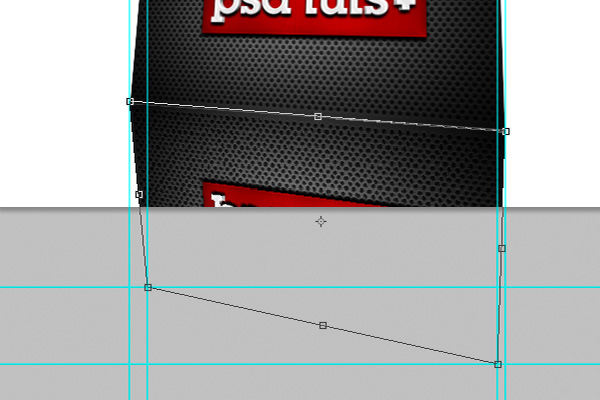
Place a second card onto a new layer and name it "reflection". An easy way to flip your image out is to simple add a "-" operator before the height dimension. Align the top left corner of the reflection to the bottom left corner of the card.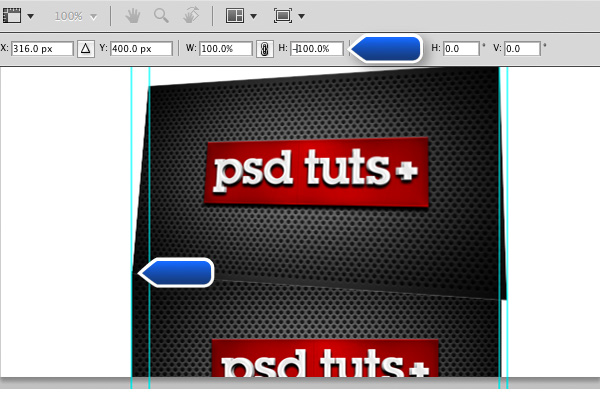
Step 6
Press Cmd/Ctrl + T, then right click, we’ll be able to bring up the transformation menu.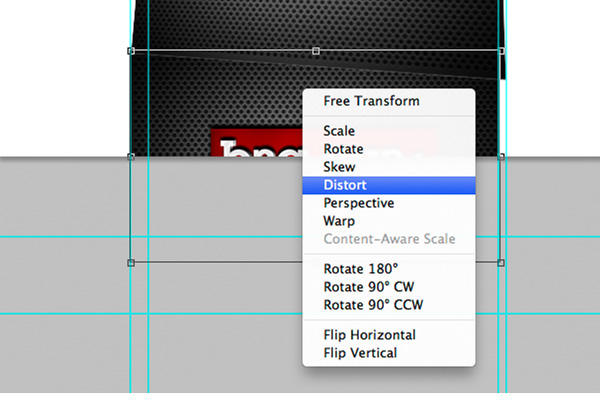
Step 7
The next step is how to make it fade to transparent. Select a big and soft brush about 200 pixels. We could also be using the Gradient Tool for this part, but I prefer the brush because it gives us a little bit of control we don’t get with the Gradient Tool.
Step 8
We wouldn’t have so much depth in our scene if we didn’t have at least two elements in our 3D space, so repeat the process we just explained with another card. You should make it a little smaller since it’s farther into the Z space.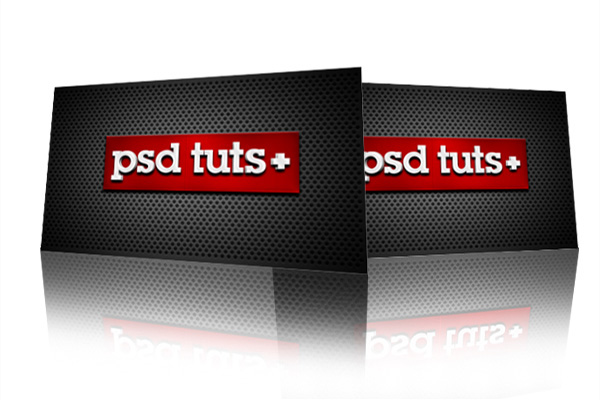
Step 9
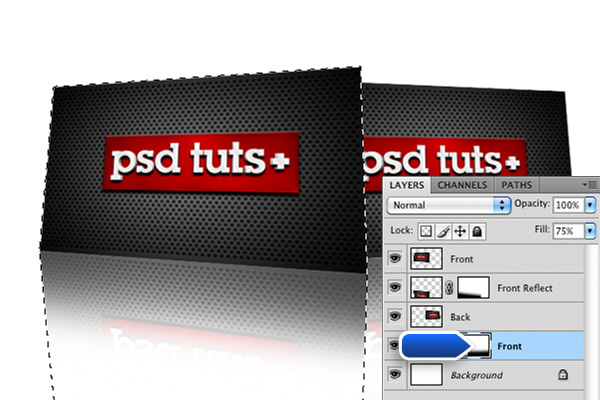
Since our reflections are now transparent, there is a new problem which can be solved quite easily. What we need to do is to mask out the area of the front element’s reflection on the second one. To do this, Cmd/Ctrl – click the first element preview in the palette and Shift + Cmd/Ctrl – click on it’s reflection. What’s that does is it create a new selection from the selected layer and it adds the other selection to the actual selection.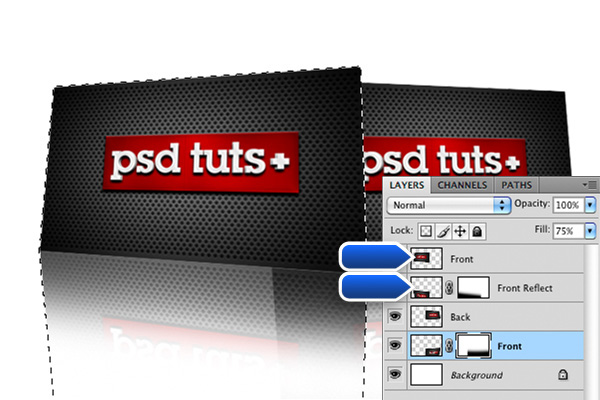
Step 10
To simulate a nice laminated shine on your card, we need to create a new layer and name it "Shine". By pressing Cmd/Ctrl – click on the preview icon again, select your card and subtract a part of it using the Polygonal Lasso Tool. To do so, hold Alt and start clicking around to create your shape, once closed, it will subtract this shape to the current selection.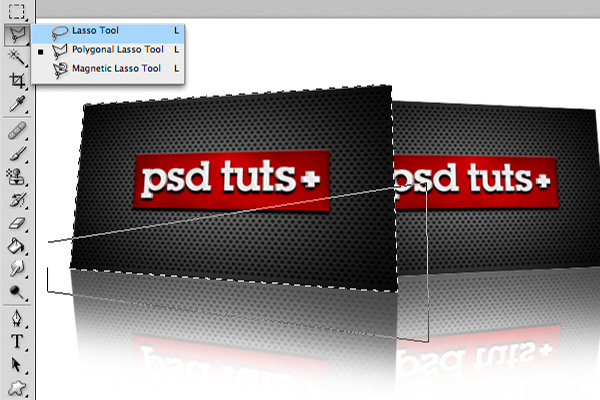
Step 11
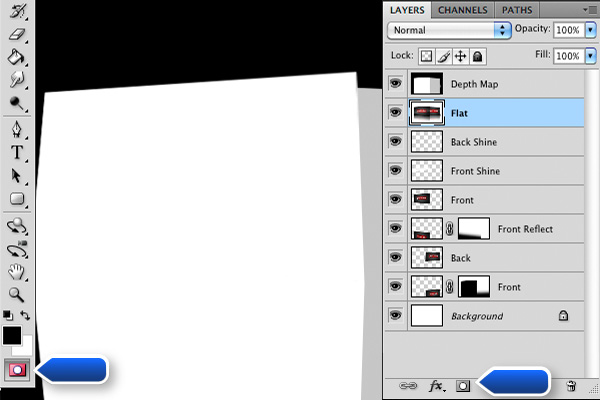
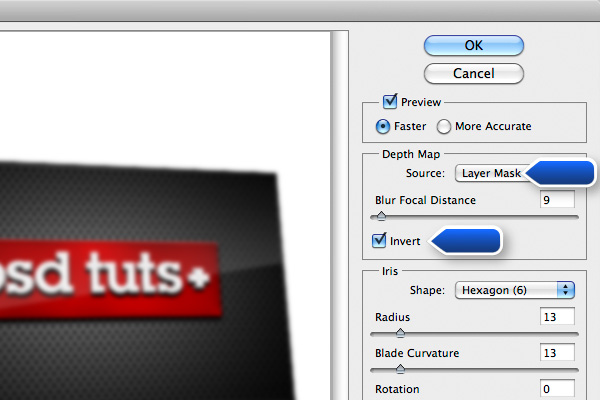
It is now time to add depth of field to our scene. For those who don’t know much about depth maps, it’s a black and white map that represent the depth of each element with a value that goes from white to black, white being the focused elements. Create a new layer and fill it black because there is nothing to be focused on in the back of our scene. Using the selection method we discussed in step 9, fill the front element with white and the rear with gray. You don’t need to choose your gray well because we’ll be adjusting the blur settings in few moments, don’t worry if it’s too dark or too pale.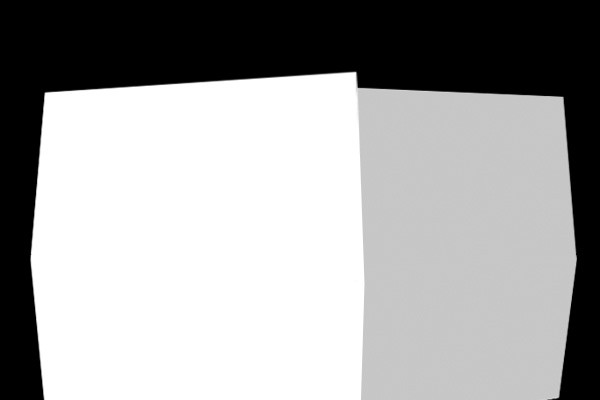
Step 12
Since the Lens Blur effect only affects one layer, we need to create a copy of our layers and make a single one out of them. Select all your layers (excluding the depth map we just created) and drag them onto the new layer icon at the bottom right of the layer palette. Press Cmd/Ctrl + E to merge them in a single layer or right click and select Merge Layers.To apply the depth map on the flattened layer, hit Cmd/Ctrl + A with your depth map selected, this will select everything on the layer. Hit Cmd/Ctrl + C to copy it, we’ll need it in few seconds. The upcoming part is a great way to import black and white values to a layer mask, simply add a layer mask to the flattened image, be sure to hit Cmd/Ctrl + I to make it black and then press the Edit in Quick Mask Mode icon at the complete bottom of your tool palette.
Step 13
Then, having the flattened layer selected, choose Filter > Blur > Lens Blur to bring up the effect settings.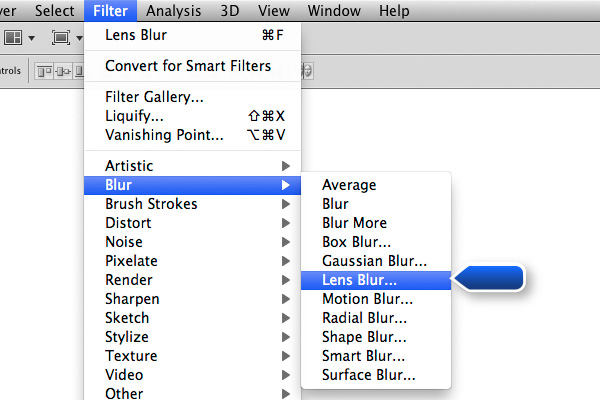
Step 14
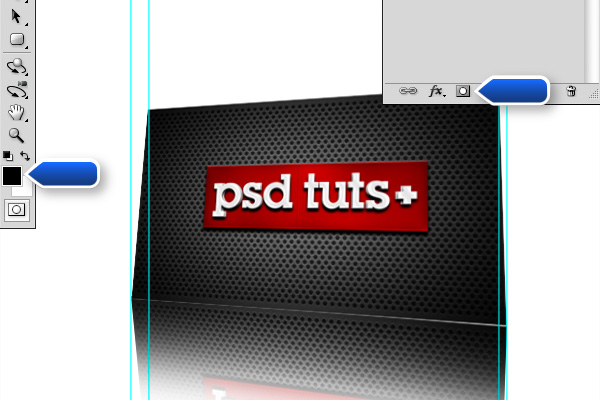
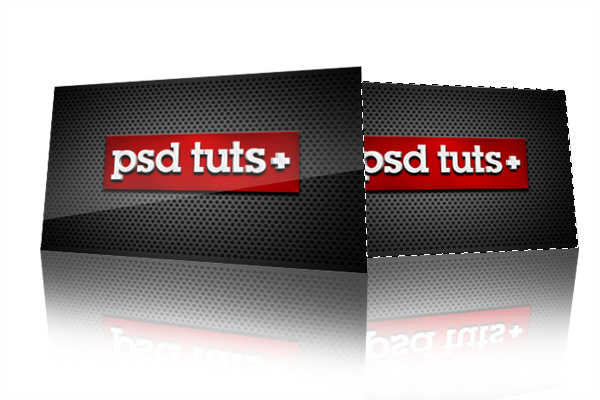
To add dimension to the card, draw a simple dark gray line around the edge of the first card to create the impression of an extruded layer.
Step 15
Adding a floor is a great way to make it more realistic because the eye will understand more easily that the business cards aren’t floating in space but sitting on the ground. For this tutorial, I am using a texture you can easily get since it’s given in the Psdtuts+ freebies. I used "stonetexture5.jpg" that you can find in the Stone Texture Pack.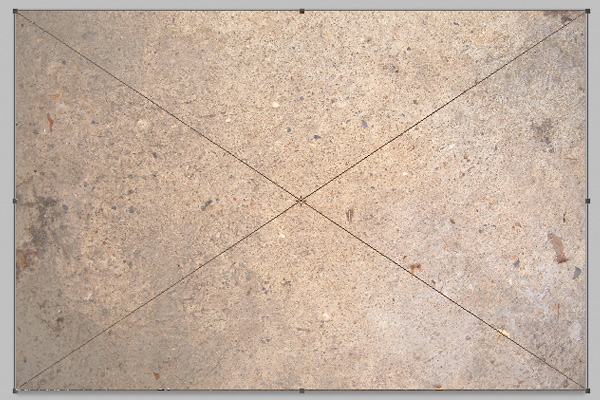
Step 16
Desaturate it by hitting Cmd/Ctrl + Shift + U, if it does not work, you might need to rasterize your layer. Choose Layer > Rasterize. Hit Cmd/Ctrl + T to bring the transformation tools and select perspective.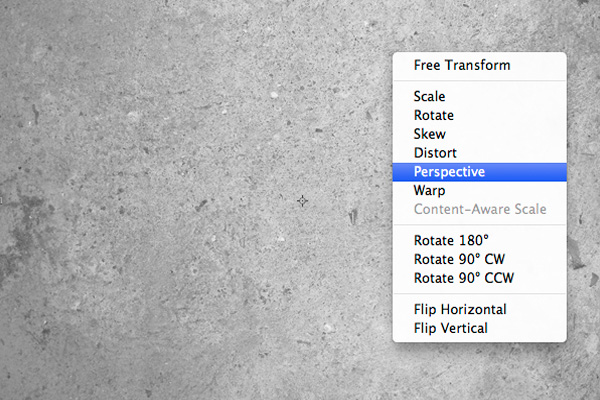

Step 17
Mask out cards using the same selection method we’ve been using quite a lot before.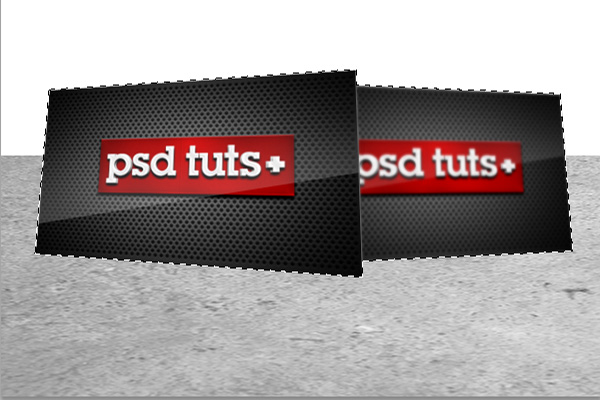
Step 18
Using a big soft brush, around 300px, mask out some areas we want to soften out.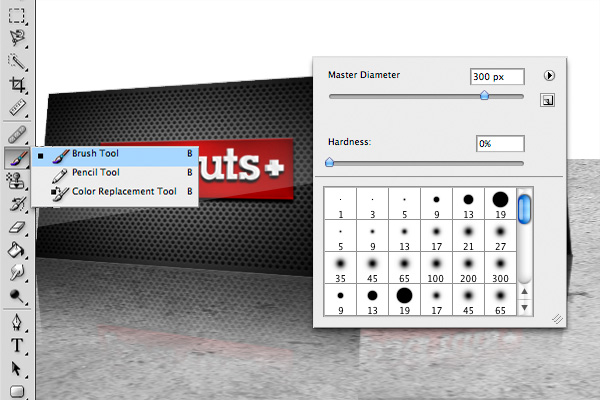

Step 19
To add a quick shadow under those cards, create a new layer a paint a black spot using a soft brush.
Step 20
Mask out the overlapping areas and repeat for the second card.
Final Image
You might want to play with these settings to get the desired effect, you could bring the opacity of the ground down a bit to make it less grungy.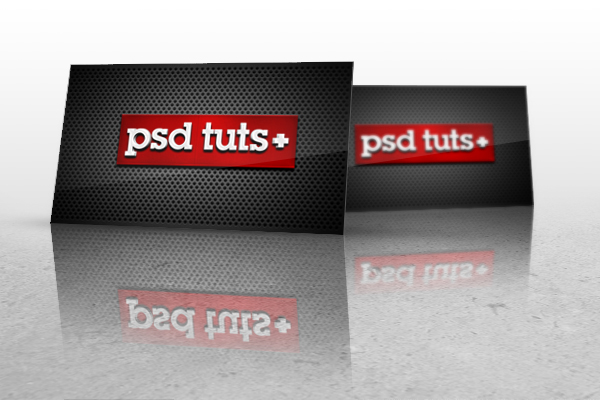
No comments:
Post a Comment